Showing posts with label Sponge Daubers. Show all posts

Friday, 24 May 2013

Spring card class 3 - Flowering Flourishes

Hello,

As with quite a few of my posts on here, this is a scheduled post that I wrote on Monday evening.  I love catching up on writing my blog posts and sharing all my makes, and tend to write a few all in one go.  I've got  about 15 posts in drafts at the moment waiting to be written!  I think I wrote a few posts ago that I'd finished my box set of Ashes to Ashes and Life on Mars, and I've just found that all the old episodes of Waterloo Road are on Lovefilm Instant, so guess what I'll be watching for a couple of weeks when I get the chance!

Today's share is another card that I made a couple of weeks ago at the Spring card class.  I enjoyed making this card, as I got to try a stamp set that I'd never really paid much attention to in the catalogue, or had a play with.  There's so much choice these days, it's nearly impossible to use them all, let alone own them all (in my dreams!)  The stamp set is called Flowering Flourishes, and can be found on page 121 of the Stampin' Up! Annual Catalogue.

We stamped the Flowering Flourishes stamp onto Very Vanilla using Crumb Cake ink, and then sponged the edges too.  The Happy Birthday Wishes sentiment is from Petite Pairs, and was stamped in Early Espresso and punched out with the Extra Large Oval Punch.  Two circles were punched out using the circle punches (I'm afraid I don't know what sizes we used, I was too busy making them into flowers!), which were cut with the paper snips into a spiral and then twisted to form a flower.


Friday, 10 May 2013

Happy Birthday bird card

Afternoon!

Are you glad it's Friday? I am, it's been a long week, even though we did have a Bank Holiday this week. I'm a little disappointed today, as many of my crafty friends are heading down to the Stampin' Up! regional training event in Telford today. This is a yearly day event, and was held in Leeds last year, which was handy for me! The event is tomorrow so most people are stopping in a hotel overnight so they get there early tomorrow. I'm not going this year as I decided to save my pennies for Convention in November, which I also missed last year. No excuses this year, it's in Manchester so I'm determined to go.  I can't wait to see pictures and hear all the stories from the day and see what they all made.

Today I'm sharing a card I made this week for a friend's birthday. I fancied doing something new that I'd not done before so I got onto my Pinterest boards where I pin my inspiration and cards to copy. I've that many saved I don't know when I'll get round to making them all!

I used Bashful Blue card stock for the card blank, and stamped Crumb Cake ink onto Very Vanilla card stock using the Woodgrain background stamp. These were cut into strips of 2cm wide and trimmed to the size I liked. I daubed around the edges with Crumb Cake ink to give the fence panels a bit of depth. The Happy Birthday sentiment was stamped with Wild Wasabi ink using the Itty Butty Banners stamp set and was cut out using the matching Framelit dies. Lastly a bird was punched out in Baja Breeze and Daffodil card stock, and the branch cut from Wild Wasabi. A Rhinestone Jewel was used for the eye of the bird and Mini Brads were placed on the ends of the horizontal fence panel to look like nails.


Wednesday, 6 March 2013

Roses are red

Morning!

This is a post I've been meaning to share for a couple of weeks.  My blogging hasn't been too regular recently, and I'm trying to put that right!  I've got a few things lined up to share, so I just need some time to sit down and get on with writing them.  

This post is to share the flowers I made a few weeks ago, and seeing as it was Valentines Day, I decided to make some roses.  I'd done a bit of Pinterest searching  and had found lots of flower tutorials so thought I'd have a go instead of just pining.  Anyone else guilty of spending too much time browsing for projects to make one day and the list just gets bigger and bigger?  This is a link to the pin showing how these roses were made.  

The card stock colours used for these flowers was Soft Suede, Primrose Petals, Riding Hood Red and Pretty in Pink. They were all daubed around the edges with Cherry Cobbler ink with the Sponge Daubers.  Three flowers were punched using the Blossom Punch, and were assembled using a glue gun.  


The first flower, the centre one has a long glass headed pin through the centre of it, which is what the stems were attached to.  The second and third layers were then joined with the glue gun, and held in place for a few seconds until the glue dried, which keeps hold of their flower shape.


This is a close up of one of the roses.  It looks like there's a bit of glitter around the edges of the petals, but it must be traces of the glue from the gun.  It looks quite pretty! They are spritzed with the Champagne Shimmer Paint so that might be what is showing in the photo.


This picture shows the underneath of the rose, which was made using the retired punch 5 Petal Flower.  I used three different colours of green for these to add a bit of variety - Wild Wasabi, Garden Green and Old Olive.  

The pins were glued to thin green wire stems that I picked up in a local craft shop, and then I wound florist tape around the stem.


This is a basket with glass jars that I picked up from a local shop to display the roses in. It was less than a fiver, and a few days after I'd bought it, I saw one in Laura Ashley for about £12! 


The basket came with a little wooden heart, attached with some ribbon.  I replaced the ribbon it came with with some Cherry Cobbler Seam binding ribbon.


I'll be making these soon again I hope, they'd be great for a special birthday, or for table decorations for a wedding or a party. Let me know what you think!


  1. Papers / Card Stock - Soft Suede, Pretty In Pink, Primrose Petals, Riding Hood Red, Garden Green, Wild Wasabi, Old Olive
  2. Stamp Sets - N/A
  3. Tools - Sponge Daubers, Blossom Punch, 5 Petal Flower Punch (retired), Glue Gun (not SU) 
  4. Embellishments - Cherry Cobber Seam Binding Ribbon
  5. Inks/Markers - Cherry Cobbler
  6. Other - Vase, Basket & Jars, Florist Tape, Glass Headed Pins and Wire Stems (not SU)


Saturday, 2 March 2013

Shoe Box Swap Card

Evening all

I hope you're having a nice weekend.  It looked nice and sunny today as I was driving to and from the Shoe Box Swap crafting day I attended with a group of demonstrators from Julie's Jems.  It was a bit of a struggle to be honest, I've got terrible dizziness (some would say that's no different to normal!) following a trip to Bruges last week on the ferry.  I've never been on a long ferry journey before, and wasn't sure what to expect, luckily I felt fine whilst I was on board, it was after I got back onto land that the swaying continued.  I've got some tablets from the doctors now, so I hope it won't go on much longer!I think out of the 11 projects I made today, I completed only one or two fully, and I made a couple of daft mistakes on the other projects, but I think I did well considering.

Just in case you're wondering what a Shoe Box Swap Day is, and you haven't seen my previous blog posts about the day we had last year, it's where each attendee brings along a project prepped for everyone else to make.  Each project should take about 30 minutes to complete, and it's such a great way of learning new techniques or trying out different products that we might not have bought ourselves yet.  Today, there were some gorgeous projects, and everyone went to so much effort before today making sure that they were prepared.

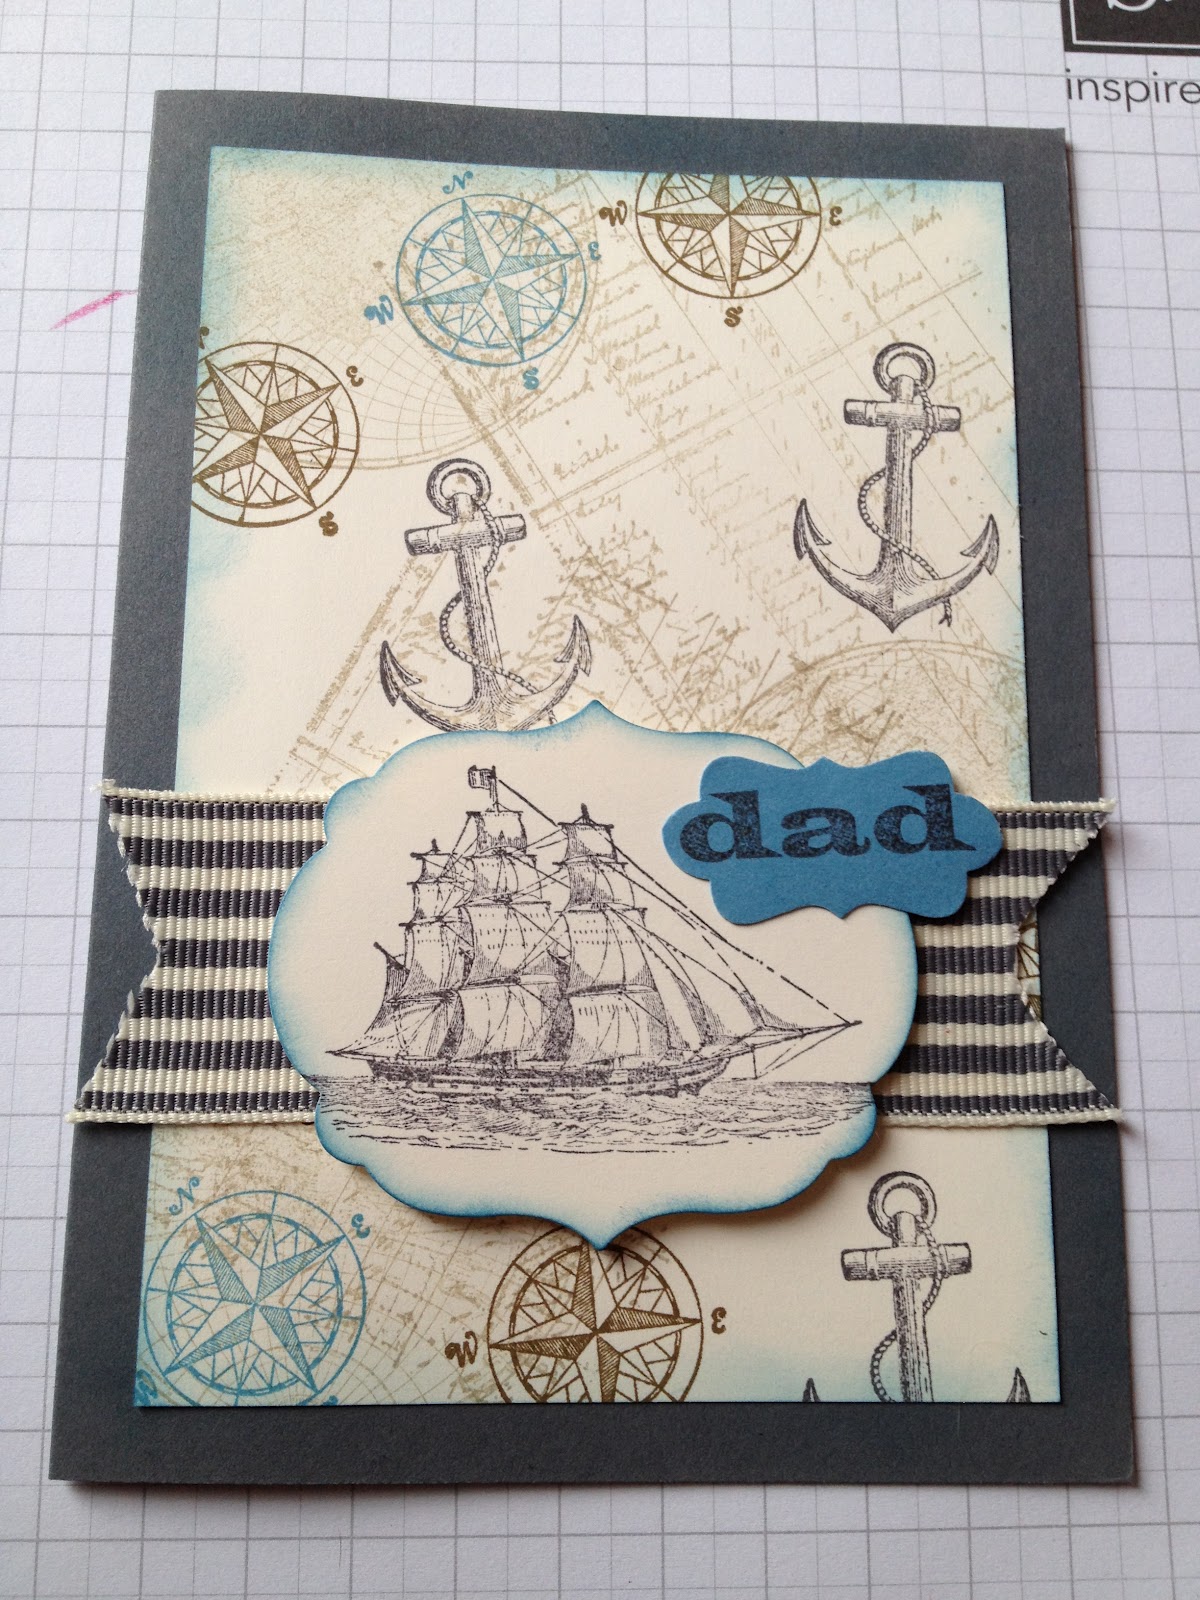
Here's the card that I designed and brought along for the ladies to make today.  It's the same design as I used in my card class on Tuesday, just with a different stamp set and different papers.  The theme was to use products from the Spring/Summer Catalogue, and since I've not gone too mad with buying products from it yet, I was limited to this stamp set.  For once, I've not bought everything I possibly can (or can't!) afford.  I made a tri fold shutter card, with Crumb Cake card stock as the card blank.  The papers are from the In Colours 2012-13 Designer Paper Stack, in Summer Starfruit, Primrose Petals and Midnight Muse.  These papers stacks are great value, for just £19.50 you get 40 sheets of 12"x12" papers, and they come in all the colour families and In Colours.  I'm still getting through the Subtles pack that I got when I first signed as a demonstrator two years ago.


I used the Collage Curios stamp set for this card.  It's one of the sets I really liked from the Spring/Summer Catalogue, and co-ordinates with the Bottle Tops.  The images were stamped in Summer Starfruit, Baja Breeze and Primrose Petals, and were punched out using the Petite Curly Label Punch which is one of the Sale-A-Bration items this year.  These were then daubed around the edges with Crumb Cake Ink.


This is a close up of the Baja Breeze panel, which has been embossed using the Big Shot and the Honeycomb embossing folder, another product from the Spring/Summer Catalogue.


This is a view of the card from the top.  You can see how each fold alternates to make a zig zag effect.  I've not taken a picture of it flat, but it folds together so it would fit inside a normal A6 envelope, for easy posting.


I hope you like this card, and if you were one of the lucky ladies that attended the class today and happen to be reading this, please leave me a message to let me know what you thought of it.  If you'd like the tutorial, please also leave me a message or drop me an email at mycardsandcrafts@hotmail.co.uk 

As I spot the other ladies projects appearing on their blogs, I'll be sharing the projects that I made today.  If you like them, why don't you drop onto their blogs too to take a look at their other creations.

  1. Papers / Card Stock - Crumb Cake, Baja Breeze, In Colour 2012-13 Designer Paper Stack
  2. Stamp Sets - Collage Curios
  3. Tools - Petite Curly Label Punch, Sponge Daubers, Paper Trimmer
  4. Embellishments - Dimensionals
  5. Inks/Markers - Baja Breeze, Primrose Petals, Summer Starfruit


Thursday, 25 October 2012

Open up your door

A couple of weekends ago, I was at my Stampin' Up! friend Kylie's house, for a crafty get together. She was getting things organised for her Inspiration Station at our teams quarterly training and I got busy making some Christmas cards to sell. The next four blog posts will show you these cards. I used some retired items on them, to use them all up, so I can justify buying more!

This card was inspired by a card that was made for me last Christmas by a friend, and by the Tea Shoppe dresser card that we made at the Shoe Box Swap day. I made 12 of these cards, 6 using the Woodgrain background stamp for the wood effect and 6 using the new Woodgrain embossing folder in the Big Shot from the Seasonal catalogue. I used Cherry Cobbler card stock for the card blank with Very Vanilla for the background. The pieces of Woodgrain stamped or embossed Crumb Cake were sponged around the edges with the same colour ink with the Daubers. To create the wreath, I used the bird punch leaf, and the berries were punched using the owls eyes from the Owl punch. I made a couple with hearts instead of berries, also punched from the Owl punch.

*Sorry about the bits of glue on the cards, I took the photos before the glue had dried*

If you'd like to buy any of my Christmas cards, please contact me for more details.


Tuesday, 19 June 2012

Stamp-a-stack 4 - The Open Sea

Morning,
I'm trying to keep up by good blogging behaviour, so here's another post to share with you.  This is the fourth card from the Stamp-a-stack class, and I love this one.  Julie cased it from one of her downline, and I'm glad she shared it with us.  I'd just bought this stamp set, so it's great getting ideas for future cards I'll design myself.

The stamp set used for this card is called The Open Sea, and many of us demonstrators were really excited about this.  It's a great set to use for masculine cards, or where something different is required.  It can be difficult sometimes to come up with designs for men's cards.  The colours used for this card are Marina Mist, Soft Suede, Crumb Cake and Basic Grey.  The images were stamped at random to create a background on the Very Vanilla card stock, and the edges were sponged with Marina Mist.  The ship was stamped and then the Framelits Labels Collection dies were used to cut out the image.  This was mounted onto a strip of Striped Grosgrain Ribbon.  The sentiments were from the For My Family stamp set, and was punched out using the decorative label punch.


Papers / Card Stock - Basic Grey, Very Vanilla, Marina Mist
Stamp Sets - The Open Sea, For My Family
Embellishments - Striped Grosgrain Ribbon
Tools - Labels Collection Framelit Dies, Big Shot, Sponge Daubers, Decorative Label Punch
Inks / Markers - Basic Grey Soft Suede, Crumb Cake, Marina Mist

Thursday, 10 May 2012

Clearly For You card

Hello,

As you can tell, I'm getting back into the swing of things with this blogging, and enjoying writing and sharing again.  Maybe I'll have to schedule in craft free weeks now and again so I can have a rest from it! I absolutely love it though (can you tell) but sometimes my brain gets a bit overloaded with ideas and plans etc etc that it gets a bit much.  Any of you other crafters out there ever feel like that?

Today I'm sharing a card with you that uses the Clearly For You stamp set.  I loved this set when it first came out, and my friend/customer (now downline) Kylie bought it, and I've had my eye on using it for a while.  We joked the other day about how we needed to live closer to each other to share each others craft stash, and when we're retired widows, we're going to share a granny flat with a Stampin' Up! craft room in the middle. Sounds great! Hahah!

This card is for a friend of mine, and I wanted to make something a little vintagey, and classy.  I used Always Artichoke, Very Vanilla and Crumb Cake for this card. I used the 1-1/4" (3.2cm) Square Punch to cut out the tiles, some of which were stamped first, and others stamped after.  That's one of the great things about using punches and stamps, you can line the punch up over the image to make sure it's lined up correctly, or cutting the exact area that is wanted.  I love all the stamps in the set, the birds, the butterflies and the ladybirds, it's hard to say which is my favourite.  I used the Sponge Daubers around the edge of the tiles with the Always Artichoke ink, to soften the edges.  Using one of the techniques I learnt at the recent Beautiful Bows class, I made a bow with the Very Vanilla satin ribbon, held together with a Antique Brad to the bottom of the card, adding an extra bit of glamour. 


I love this card, and I'll be recreating it again soon, and the beauty of it is that it can be done with many different stamp sets.  Watch this space!

Thursday, 5 April 2012

Stamp a stack - Fresh Vintage card

Here's the fourth card from the Stamp-a-stack class, which uses one of the Sale-a-bration stamp sets, Fresh Vintage. Sadly, this promotion has ended now, and the lovely products are no longer available, I hope you all got the freebies you wanted and are enjoying them.  This was a nice simple card, quick and easy.  Early Espresso ink and Card Stock was used, with Very Vanilla.  The sentiments are from the Petite Pairs stamp set.  I love the velvet ribbon, which is in the Spring Mini Catalogue, I'd never used it before and it makes such a different having a feel and look at the products, rather than looking at the pictures in the catalogue. The Lace Ribbon Border Punch was used to create the strip behind the ribbon.


Close up picture of the lovely Velvet Ribbon

Papers / Card Stock - Early Espresso, Very Vanilla
Stamp Sets - Petite Pairs, Fresh Vintage (Sale-a-bration stamp set)
Embellishments - Velvet Ribbon
Tools - Sponge Daubers, Lace Ribbon Border
Inks / Markers - Early Espresso

Tuesday, 3 April 2012

Stamp a stack - More Butterflies

Here's the second card from the stamp-a-stack class, I'm really pleased Julie chose this one for us, as I've had my eye on it on Pinterest now for a while and was planning to make it at some point.  The colours used are Calypso Coral, with Crumb Cake and Very Vanilla.  The paper is from the First Edition Designer Series Paper, and I bought these a while ago, and not quite known what to use them with, at least I have an idea now. On this card, the Sponge Daubers were used to ink the edges of the card to give a vintage look.  The stamp set is Elementary Elegance, a set which was recently available during the Sale-a-bration promotion, which ended on the 31st March.  I'll miss using all the Sale-a-bration products for blog posts, although I'll be using them to make some cards to sell. The Beautiful Wings Embosslit die was used for the butterflies, and some bling was added using the Rhinestone Jewels. 


Papers / Card Stock - Calypso Coral, Very Vanilla, First Edition DSP
Stamp Set - Elementary Elegance
Embellishments - Rhinestone Jewels
Tools - Big Shor, Beautiful Wings Embosslit Die, Sponge Daubers, Curly Label Punch
Inks / Markers - Calypso Coral, Crumb Cake

Sunday, 25 March 2012

Door Hanger

A couple of weeks ago, when I was having my crafty weekend with Kylie, I also went round to visit some friends who had recently had a baby girl. James was one of my first friends from university, and Jenny was Kylie's friend from school, so they have us to thank for meeting!

Inspired by my visit to meet their new addition to their family, I decided to make a door hanger as a gift to them. I'd bought a plain door hanger a week or so before in a craft shop in Leeds city centre. I used the Beau Chateau papers to cover the hanger, and used the sanding blocks to get a clean edge around the sides and the circle.

The door hanger covered with the Beau Chateau paper

Die cut letters from the Alphabet Simple Letters Bigz die

I used the Alphabet Simple Letters Bigz dies to cut the letters from Pink Pirouette card stock, and the Fun Flowers die to cut flowers from Soft Suede, Pink Pirouette and Beau Chateau papers. A few of the card stock flowers were embossed with the Square Lattice embossing folder. The edges of the letters and flowers were inked with Soft Suede. I then used the Beautiful Wings Embosslits die to cut the butterflies. It's a clever product, as it cuts and embosses at the same time. Finally, Rhinestone Jewels were placed on the butterflies for added bling.


I hope they like it, and that baby Hana does when she's a little older.

Paper / Cardstock - Pink Pirouette, Soft Suede, Beau Chateau DSP
Stamp Sets - N/A
Embellishments - Rhinestone Jewels, Beautiful Wings Embosslit die, Alphabet Simple Letters Bigz die
Tools - Big Shot, Sanding Blocks, Square Lattice Embossing Folder
Inks / Markers - Soft Suede

Saturday, 17 March 2012

Daisies

Morning!

Last weekend, myself and Kylie (my downline & crafty pal) had a bit of a craftathon marathon! She was preparing for her first workshop, and had lots of projects she wanted to have on display.  I made some bits and pieces for her, and took the opportunity to make some things I'd had ideas for.  It's given me plenty of things to share with you, I've just got to get the 17 blog posts that have been drafted written up and posted now.

Those of you who were involved in The Craft Garden at Leeds Town Hall for Night Light 2011 (see my previous blog post here) may recognise these flowers. I'd not done anything with them since they came home after the event, and thought it was about time they were renovated into a display project for my workshops and classes.


Kylie decorated a plain kraft flower pot with the Hostess Benefits Cheerful Treat DSP and I removed the old non Stampin' Up! Buttons from the flowers and replaced them with orange and yellow buttons from the Brights set. The daisies were made using the Big Shot and the Flowers, Daisies #2 die with Whisper White card stock. They were inked around the edges with Cherry Cobber ink with the Sponge Daubers.  The stalks are made from garden wire from my local garden centre. I've forgotten to take a picture of the back of the flowers, but the wire is attached by using the sticky strip and a flower punches with the 5 Petal Flower punch, in Old Olive.  I'll add the picture later.


I love seeing them being used again after Light Night, all the effort I put into making them was worthwhile.

Papers / Cardstock - Whisper White, Cheerful Treat DSP
Stamp Set - N/A
Embellishments - Brights buttons
Tools - Big Shot, Flowers Daisies #2 die, Sponge Daubers
Inks / Markers - Cherry Cobbler

Wednesday, 29 February 2012

Dinosaurs

Here's another of the Stamp-a-stack cards. I really enjoyed making this one, mainly because when I saw it I thought I wouldn't like making it. It looks so arty, with the sponged sky and grass, and I thought mine would just look a bit rubbish! But I hope you'll agree, mine came out looking pretty good in the end. It's great trying new techniques that I'd have shied away from initially.
The stamp set Dinoroar was used on this card, it's a perfect set for children's cards.  The sky and the grass were really easy to do, using the sponge daubers, and the key way definitely doing a little at a time and building it up until it looked right. It's really effective, and does look harder than it was.


Paper / Card - Real Red, Pumpkin Pie, Whisper White
Stamp Set - Dinoroar, Make a Monster
Embellishments - N/A
Tools - Sponge Daubers
Inks / Markers - Pumpkin Pie, Old Olive, Daffodil Delight, Bashful Blue, Basic Black