Sunday, 29 January 2012

New addition to the family

I knew that when I joined Stampin' Up! I'd make lots of new friends and do plenty of crafting, but I never imagined I'd be getting a new kitty from signing up as a demonstrator!  A few weeks ago, I saw this picture on Shazza Barraclough's Facebook page (a fellow demonstrator), and left a comment about how cute he was and he could come and lie on my craft desk.


 A few days later, I opened my messages to see a comment left for me asking me if I'd like to take him in.  I went to see him last Sunday, and fell in love with him straight away.  He's settling in nicely now, and my other cat Rusty, is starting to get used to him, although there's still some hissing and growling!  I'd forgotten how energetic kittens are, and he's certainly providing lots of entertainment.  He likes crafting too, which is clearly a good thing in my house!  I've called him Hugo.


Here he is meeting Rusty - they look like they are getting on, but you can't see what happened next on this picture! I'm sure they'll get on eventually.


No doubt he'll sneak into future blog posts with his antics!

All Day Training

A couple of weeks ago, I attended an all day Stampin' Up! training session with Julie Kettlewell and 33 other members of her team.  It was my second one, and I had a great day. We made five cards with the Create a Cupcake stamps and punch, I ran out of time on the day, and haven't finished them yet, oops! We also did some workshop training, and learnt lots of good tips. I'm looking forward to putting them into practise.  There were some fantastic creations there by Sally Jo & Julie, on the Inspiration Stations. 


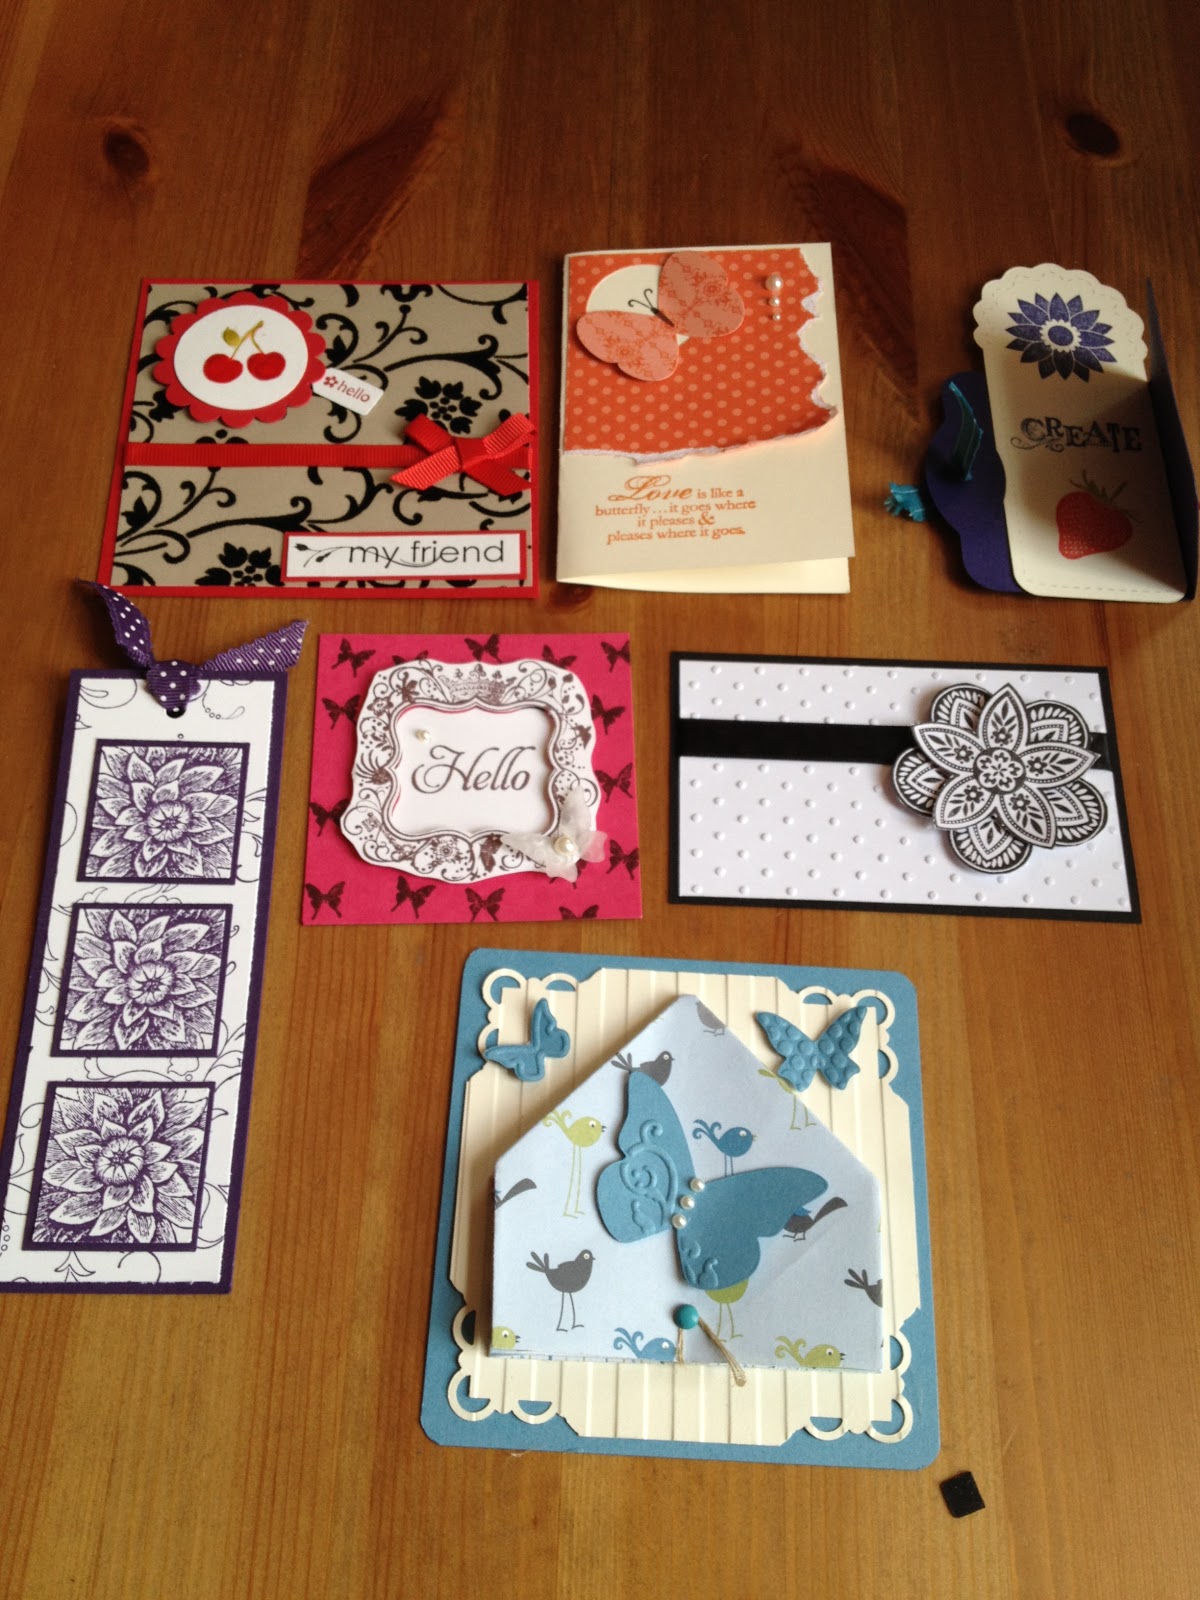
Everyone that attended had to make and bring swaps, the idea of this was to share ideas, and everyone gets samples of products they might not have purchased yet.  We didn't do this at my first training, so was really excited to see what everyone made. I now have even more products on my wish list!  These are the lovely swaps I received. 


This is what I made for my swaps, using the Aviary Stamp Set, and a colour combination of Melon Mambo and Old Olive, inspired by the Colour Coach.  The Top Note Die was used to cut Whisper White card stock.  Using the Stamp-a-ma-jig, the owls were stamped, and then the cages were stamped and then heat embossed with the Stampin' Emboss Powder.  It's been ages since I did any heat embossing, I'll have to experiment with it a bit more often.  The For My Family Stamp Set was used for the greeting, and then to finish it off, an Old Olive taffeta ribbon was tied around the card.  Miraculously I had exactly enough for the 35 cards I made, with none spare!


I hope everyone liked them!

Card - Melon Mambo, Whisper White
Papers -
Stamp Set - For My Family, Aviary
Embellishments - Old Olive 1/8" (3.2mm) Taffeta Ribbon
Tools - Big Shot, Top Note Die, Heat Tool, Stampin' Emboss Powder
Inks / Markers - Melon Mambo, Old Olive

Sunday, 22 January 2012

Cheers to You

Evening!

Thought I'd share with you a card I made this evening. Unfortunately, the stamp set Cheers To You and the papers Elegant Soirée are retired, but I'd been asked to make a card by a colleague for his brother, and this set seemed perfect. In the inside, I've put a panel of Very Vanilla cardstock, as the Soft Suede can be dark to write on.
I hope he's pleased with it.

Card / Papers - Soft Suede, Very Vanilla, Elegant Soirée (retired)
Stamp Set - Cheers To You (retired)
Embellishments - Linen Thread, Dazzling Diamonds Stampin' Glitter
Tools - Spiral Border Punch (retired), Large Oval Punch, Scallop Oval Punch
Inks / Markers - More Mustard, Basic Grey

Monday, 16 January 2012

Owl Punch & Petite Pennants Punch Magnets

How cute it this!?  I was browsing in my local craft shop recently, and spotted some magnetic photo paper.  I decided to buy some to have a play with.  I knew it could be die cut with the Big Shot, and I was really pleased when I found it was just thin enough to be punched.  I looked at all the punches I have, and of course the Owl Punch just jumped out at me! I punched the magnetic sheet, and then punched the owl shapes in card/paper and then stuck them together.

Once I had tried it with the Owl Punch, I wanted to make more! I thought the Petite Pennants Builder Punch would be good too, and I think it turned out well.  I used the Just Perfect Alphabet Stamp Set to do the letters and the Pennant Parade Stamp Set for the flags. 

I'm looking forward to trying this with more dies and punches, I think it would look great with some of the flower dies, Fun Flowers, or the Blossom Party from the new Spring Mini Catalogue. 

Wednesday, 11 January 2012

Team Training

A few weeks ago, I attended a team training session at Julie Kettlewell's house.  We got to see a few sneak previews of items from the Mini Catalogue that had arrived already on the pre-orders, and this is the card and gift we made, using the My Friend set.  That's one of the benefits of being a hostess, we get to see and order the products to play with before they are released in the catalogues.

Both the cards and the gift bag used the colour combination of Lucky Limeade and Concord Crush. The butterflies were cut with the Beautiful Wings Embosslits Die.  The little flowers were punched with the Itty Bitty Shapes Punch.  We made two cards, same design, but with one showing what a difference a few extras make to it, by adding the rhinestones jewels and the Scallop Dots Ribbon, it does make it look that bit more special I think.

The gift bag was made with two Scallop Circles using the Bigz die, and contains a cello bag inside which could be used for sweets or other small gifts.


Card Stock - Lucky Limeade, Concord Crush, Whisper White
Papers -
Stamp Set - My Friend
Embellishments - Rhinestone Brads, Scallop Dot Ribbon, Ruffled Ribbon
Tools - Big Shot, Crop-A-Dile, Decorative Label Punch, Itty Bitty Shapes Punch
Inks/Markers - Lucky Limeade, Concord Crush


Monday, 9 January 2012

Pay It Forward

Hello

Inspired by a blog post by a fellow crafter, Lisa (http://lisasew.co.uk/2011/12/new-year-new-blog-new-name/) I have signed up to take part in Pay It Forward.  The rules are -

"Pay it forward 2012: I promise to send something handmade to the first 5 people who leave a comment here. They in turn must post this and send something they make to the first 5 people who comment on their status. The rules are that it must be handmade by you and it must be sent to your 5 people sometime in 2012."

If any of you reading would like to receive some handmade Stampin' Up! goodies, please leave me a comment or email me and tell me a bit about yourself.  You don't need to have a blog yourself to take part, you could post on Facebook or Twitter.

Sunday, 8 January 2012

Aviary Candle

Last Saturday, I tried a new technique that I've been meaning to try for a few years. Inspired by my friend Kylie (and soon to join my team as a demonstrator!) who had tried this out at Christmas, I wanted to try decorating a candle with stamped images. It was really easy, and just look how it's turned out. I used the Aviary Stamp Set, and used Basic Grey ink for the cages, and Baja Breeze for the owls. The images were stamped into tissue paper, and then using a heat gun, applied them to the candle. I added a Rhinestone jewel for a bit of bling. I can't wait to experiment with this using different sized candles, colours and stamp sets.

If you'd like to learn how to do this, please contact me to book a class.